|
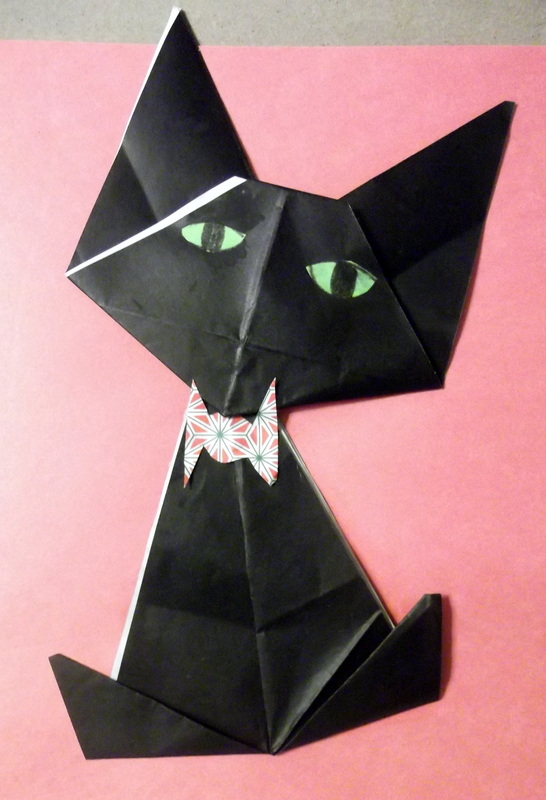
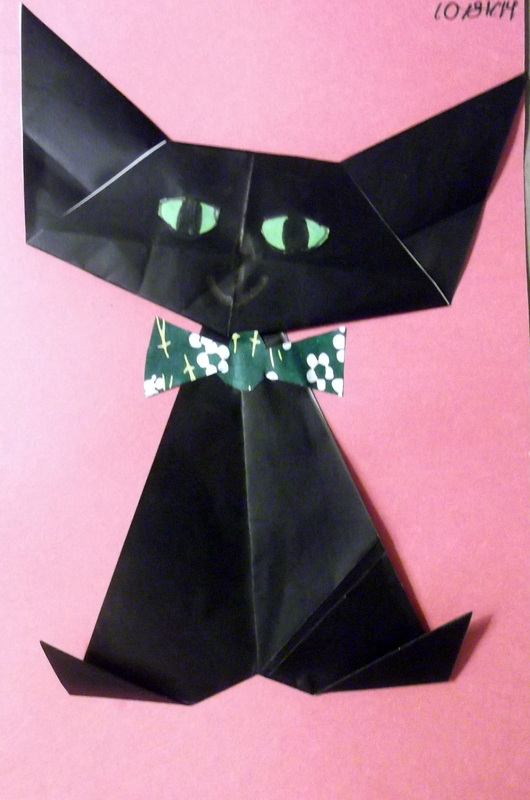
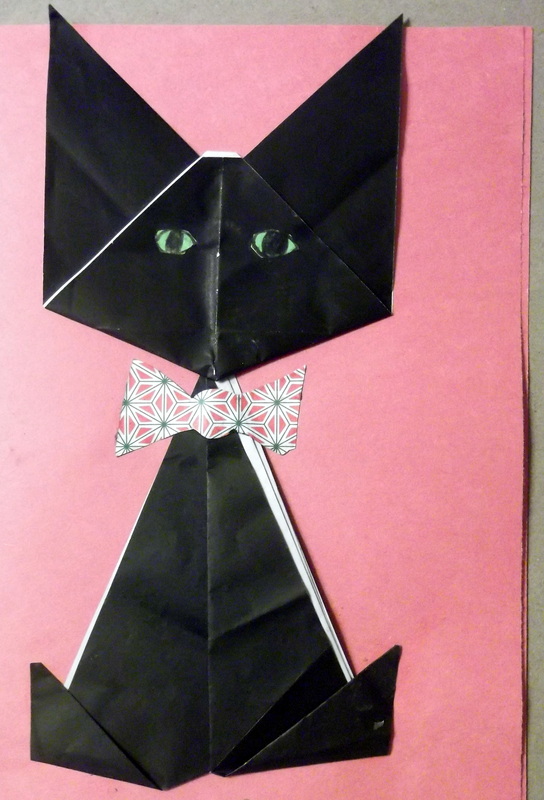
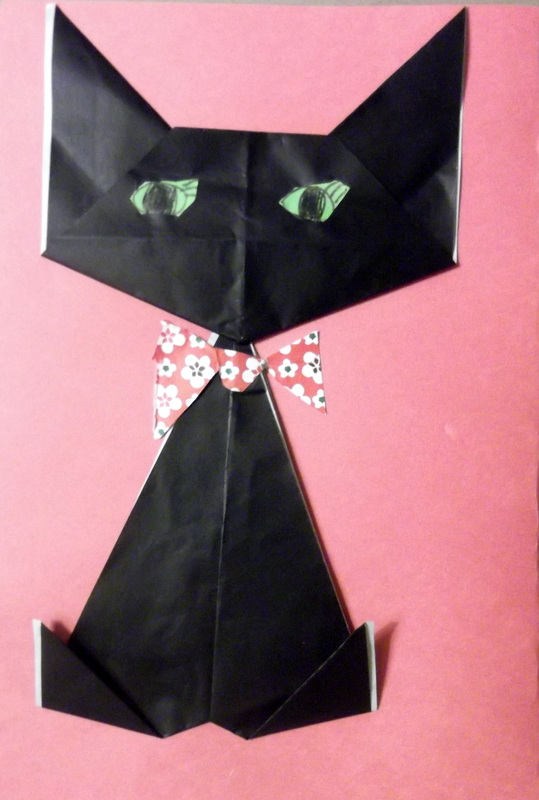
When Halloween rolls around, I like to try activities that channel the children's eagerness for some fun but still touch on something informative and, yes, maybe even academic. I have traditionally taught origami related to Halloween, showing students geometry concepts while folding ghosts and goblins. This year, we made greeting cards with black cats. It's a neat opportunity to emphasize how to follow directions, and to develop spatial awareness and manual dexterity (folding paper may sound easy at first, but it can be quite challenging). For instructions on how to make your own origami cat, visit Pink Stripey Socks. Here are a few samples of our greeting cards (click to see full view): Feeling particularly ambitious this year, I decided to incorporate a little science as well. On Pinterest, I found an activity called "Frankenworms," which was extremely cool! All it requires is some thinly sliced gummy worms, a solution of baking soda and water, and some vinegar in a tall glass to make the gummy worms come alive. The gummy worms needed to be soaked in the baking soda solution for at least 15 minutes before being placed in the glass of vinegar. (To see detailed instructions for making Frankenworms, visit the site Playdough to Plato.) As the students excitedly watched their gummy worms wriggle and writhe, I explained how the baking soda solution was a base and the vinegar was an acid. When the gummy worms had soaked up enough baking soda solution and were placed in the glass of vinegar, it caused a chemical reaction (carbon dioxide bubbles), therefore causing the gummy worms to float. Here is a moment I captured of our dancing gummy worms: Quite honestly, I think these activities can be done year-round! Many thanks to the room parents who brought in the supplies for the science and origami activities, and for coming in to help the students. Your help was invaluable and made for a fun and smooth learning time for Room 17.
0 Comments
To all mothers out there, all my warmest wishes for a wonderful and blessed day with friends and family! Although I am not a mother myself, I truly appreciate how much heart and soul the mothers at Fairburn pour into the lives of their children 24 hours a day, seven days a week. Today I also pay tribute to my own mother, who has helped me in countless ways ever since I started teaching. She has tutored my struggling readers, taught cursive lessons, and drilled the kids on times tables. She's done just about everything from teaching full-out math lessons to sweeping the floor and sharpening the pencils. As a mother and a former 2nd grade teacher, she has kept me grounded and given me so much practical wisdom. She kindled my interest in teaching in the first place. Thank you, Mom! This past week, my students made greeting cards in honor of their mothers. The project involved writing portrait poems, which are composed of a few similes to describe a person. After drafting their poems and copying them onto plain white index cards, the children drew and decorated the letters M - O - M on three separate pieces of colored construction paper with oil pastel. They glued the letters onto white art paper which had to be folded into thirds to make a trifold greeting card. Because I know it's very difficult for young children to measure and fold paper into thirds, I measure the paper for the students ahead of time -- pinching the paper at every third section, allowing students to fold it more easily themselves. Here is my sample (front and back): 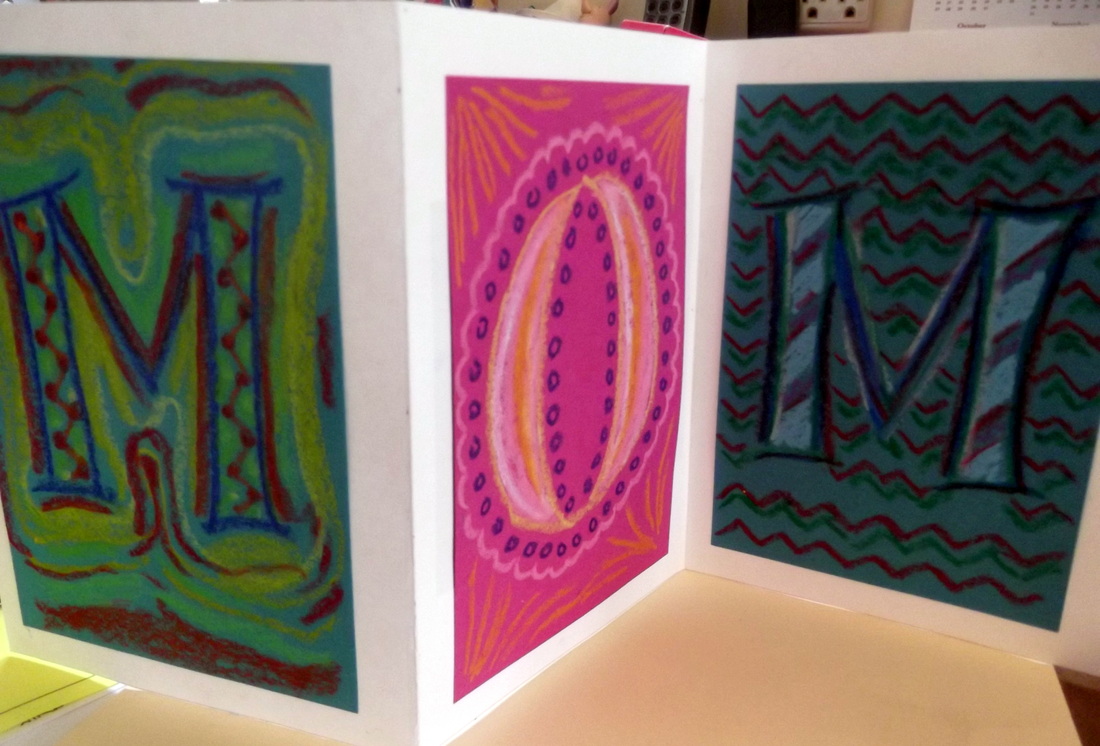 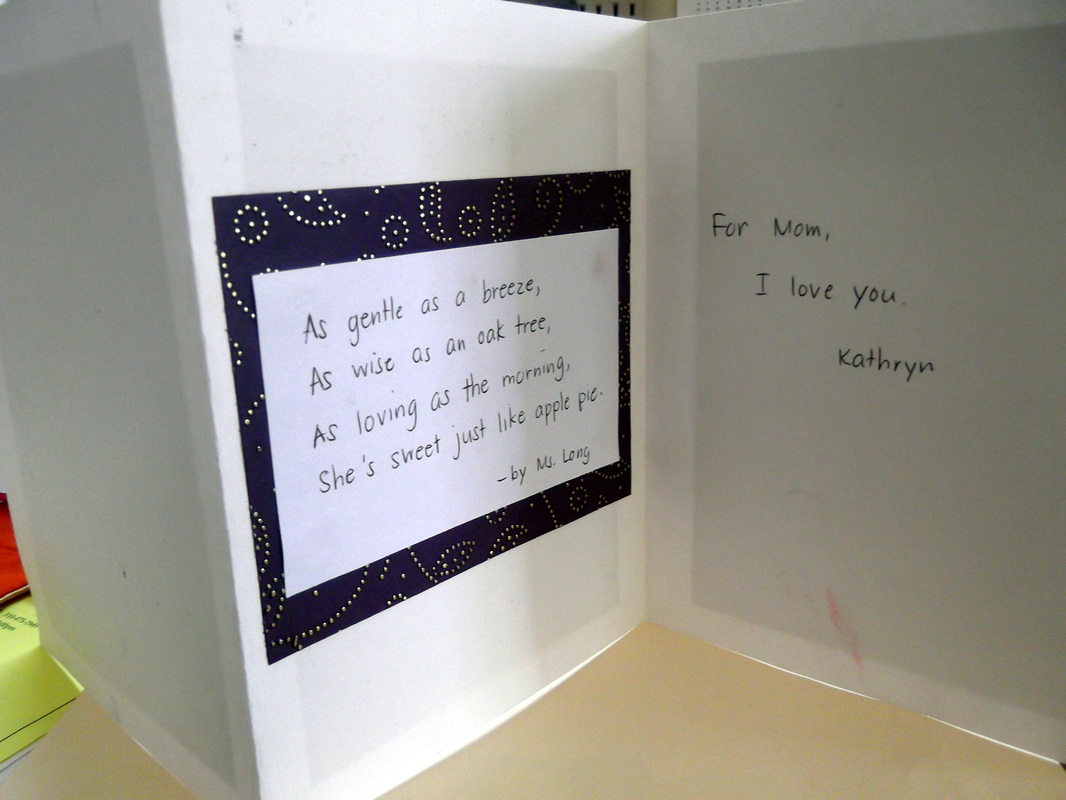 Thanks to the fun teacher blog, Simply Skilled In Second, Room 17 was able to dive into the new year with a thoughtful and colorful activity, the 2014 flip flap book. 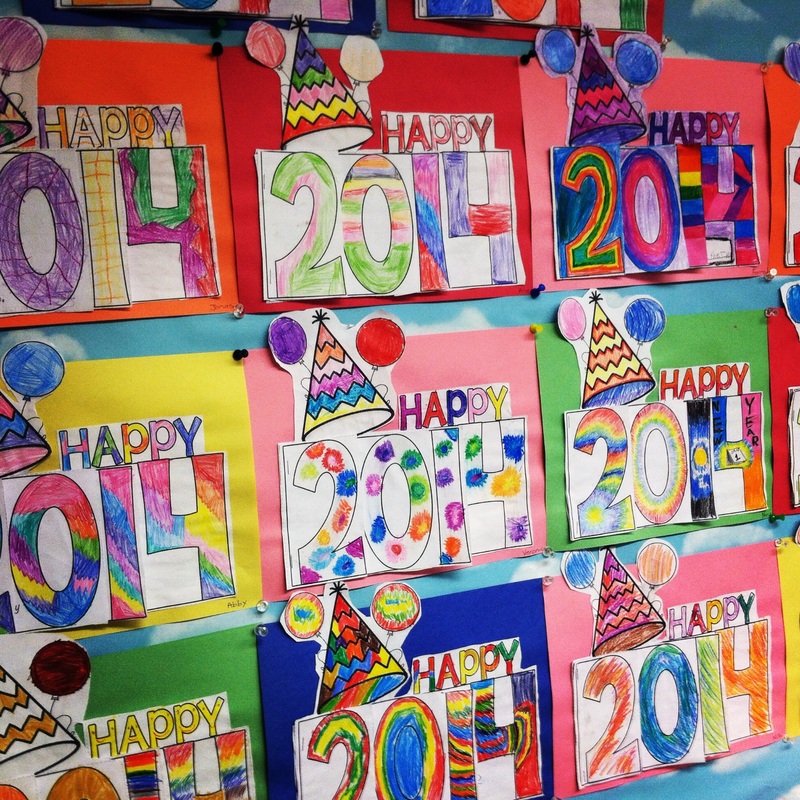 Essentially a booklet made of different-sized overlapping pages, this flip flap book encouraged the class to reflect on highlights and favorite memories of last year and to think about resolutions for the new year. I started off introducing the idea of new year's resolutions with a read-aloud I found on YouTube of the children's book, Squirrel's New Year's Resolution by Pat Miller (I was so thankful to have this video, since I didn't have my own copy of the book on hand). After the read aloud, we made a list of our new year's resolutions on the Smartboard. Among my favorites were, "I resolve to use my iPad less," "I resolve to practice more piano," and "I resolve to read more!" Students then recorded their new year's resolutions in their flip flap books.
One of the highlights of the fall semester was Fairburn's first ever Art Night, which took place on November 20. The evening offered an exciting variety of workshops in photography, sculpture, drawing and painting. I volunteered to teach two workshops on Cezanne. Since each workshop was going to be 45 minutes long, I had to think of a lesson that was simple and direct, accessible to all ages, and allowed children to finish the project in less than an hour. Thankfully, I found a wonderful lesson on Pinterest that fit the bill. I began the workshop by showing a few still life paintings done by Cezanne, including Still Life With Apples (1895), quickly going over his use of composition and color. My introduction was quite brief, about five minutes. 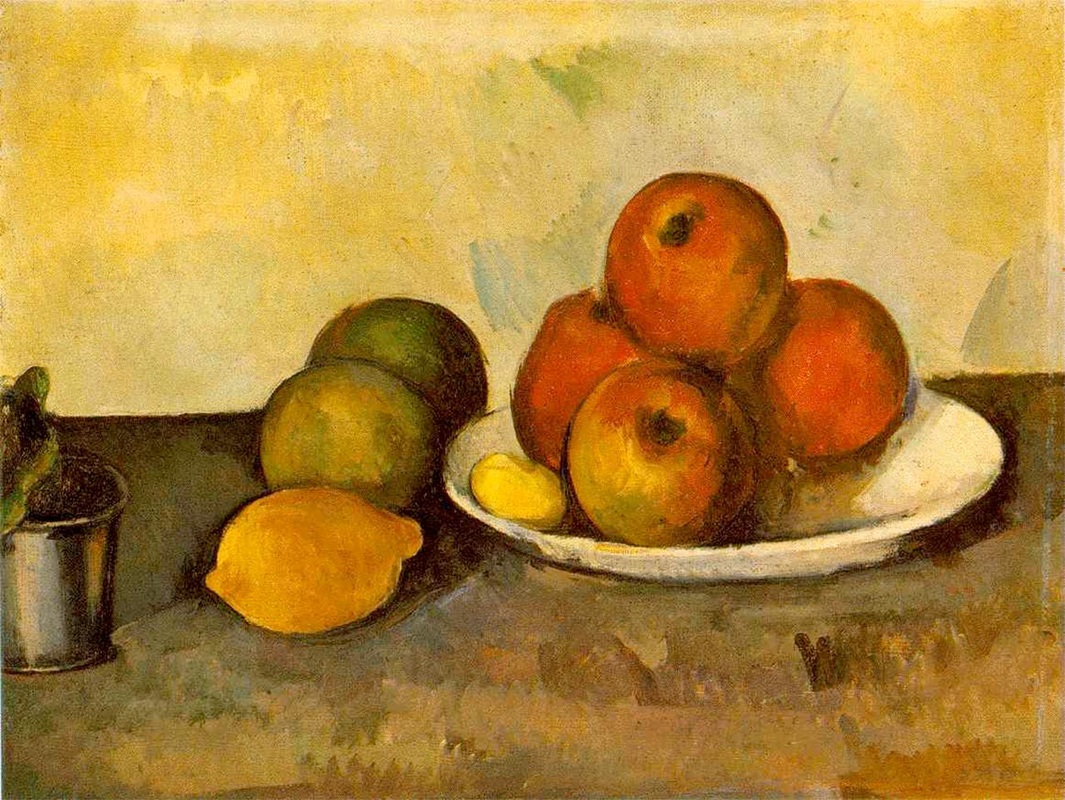
"Still Life With Apples," by Paul Cezanne
I then moved on to the project we would be doing, showing an example I had created the night before: 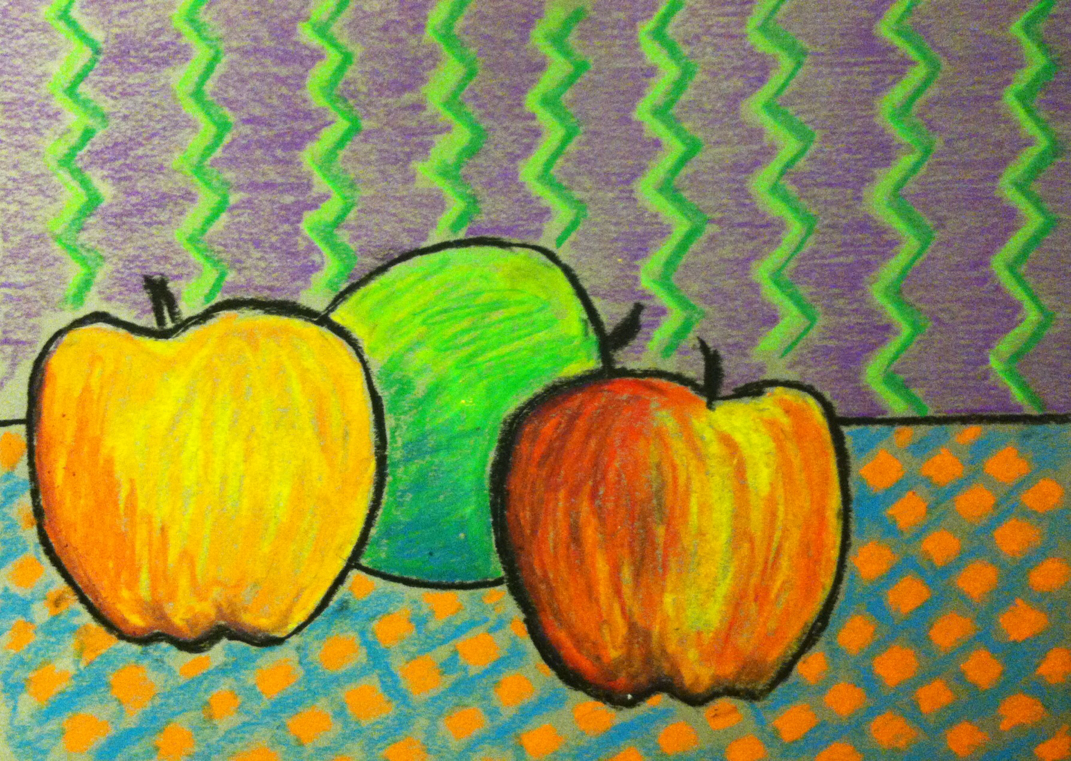
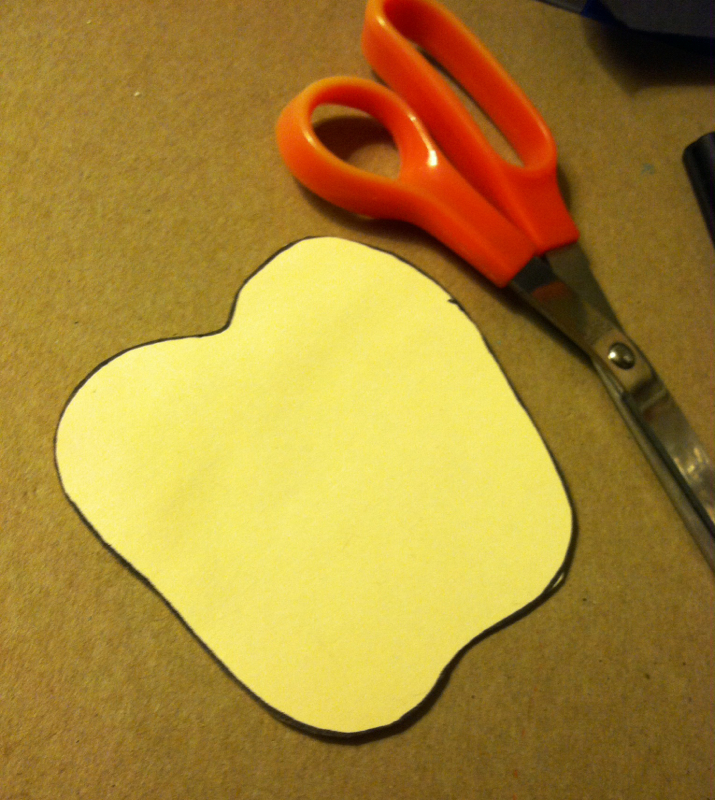
Here were the steps needed to create your own painting in the style of Cezanne: Materials: Drawing paper (gray or white) Pencil 4x4" square of cardstock Oil pastels 1) On a 4x4" piece of cardstock, draw an apple shape that touches the edges of the paper. Cut the shape out to make a stencil. (For the Art Night workshop, I had these shapes premade to save time and to make it easier for the K-1 crowd.)
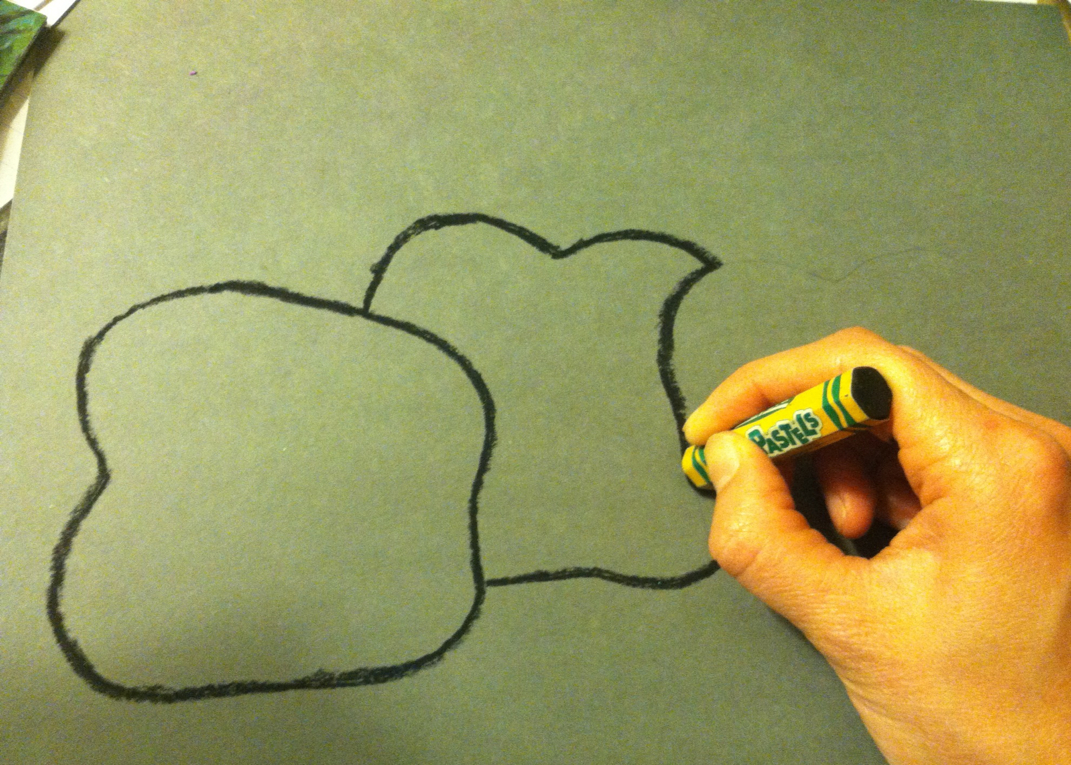
2) Trace three apple shapes onto a sheet of drawing paper, keeping composition and space in mind (suggest overlapping the shapes, having an apple lying on its side, etc.). I used a midtone gray paper for Art Night because I like the way gray paper brings out the brilliance of pastels, but white paper would work also. 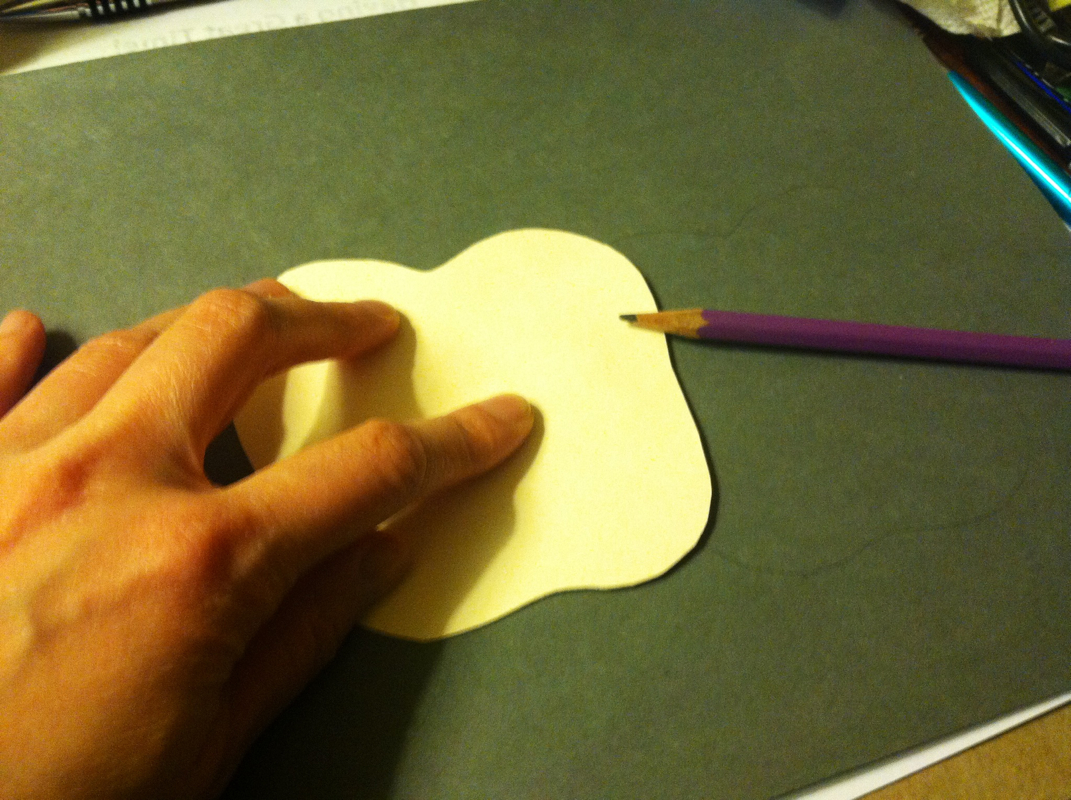
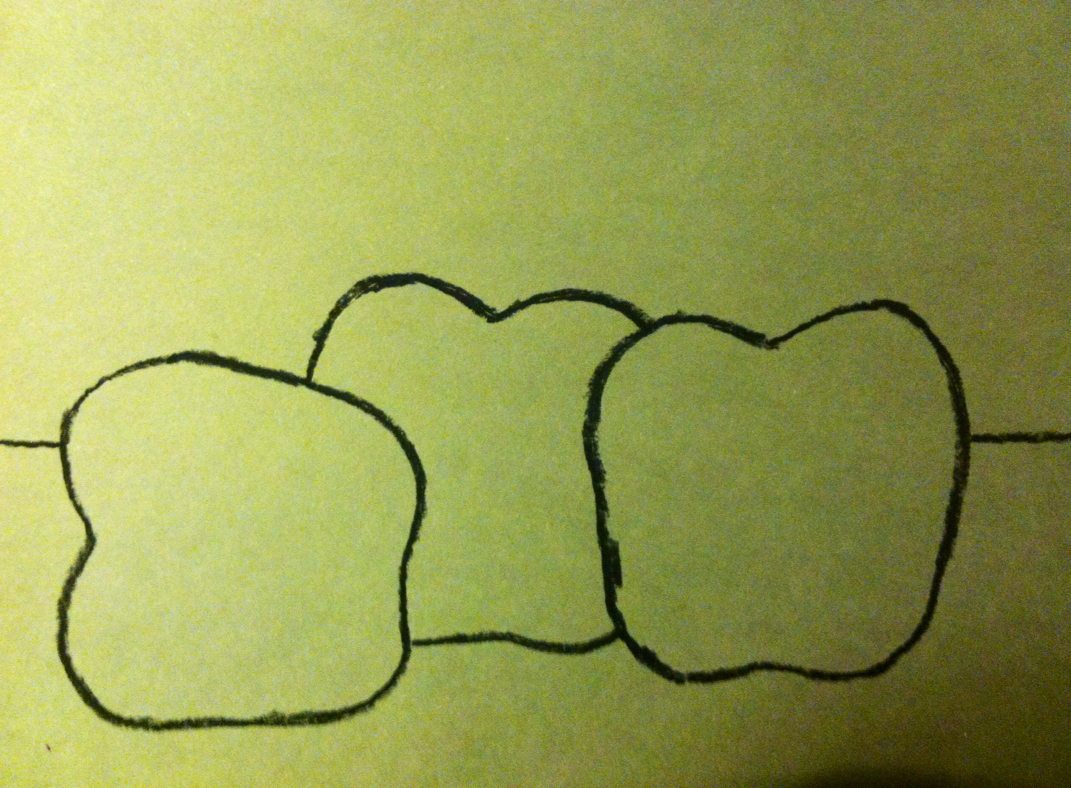
3) Trace the outline of the apple shapes in black oil pastel. Add a horizon line (or as I like to call it, an "excuse me" line).
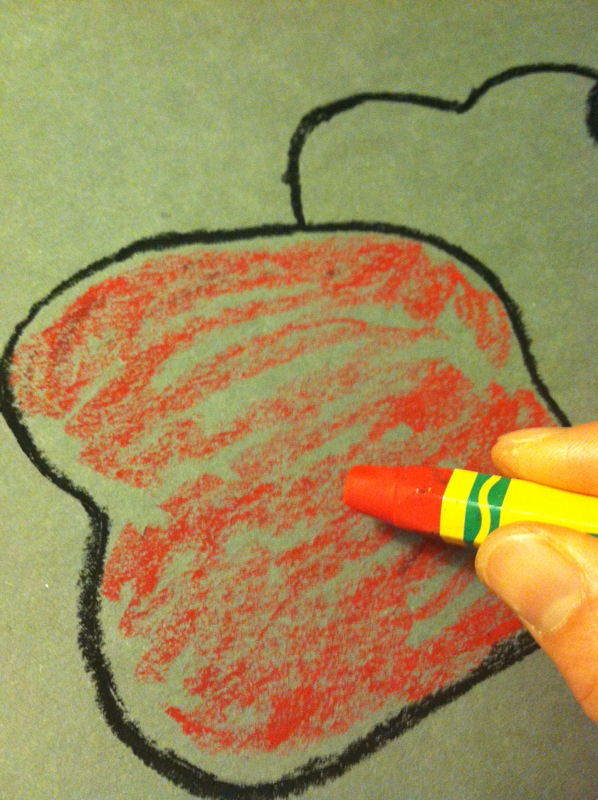
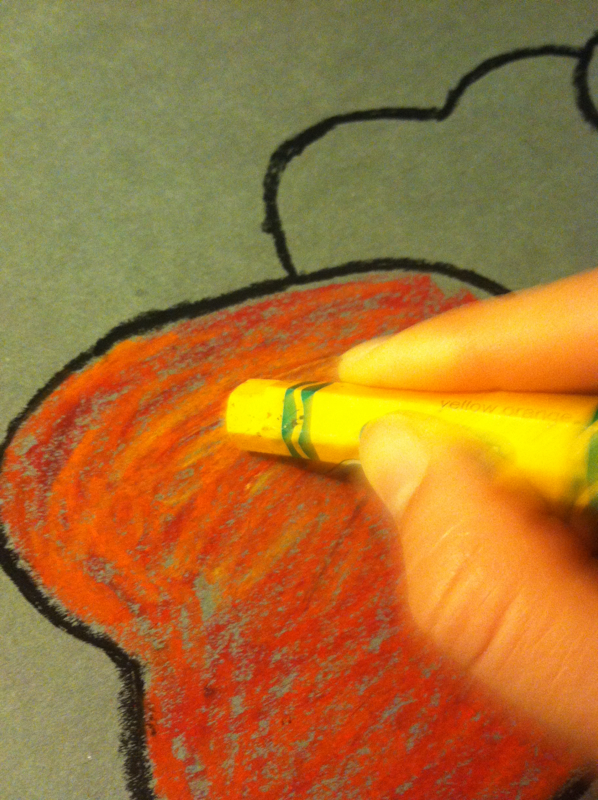
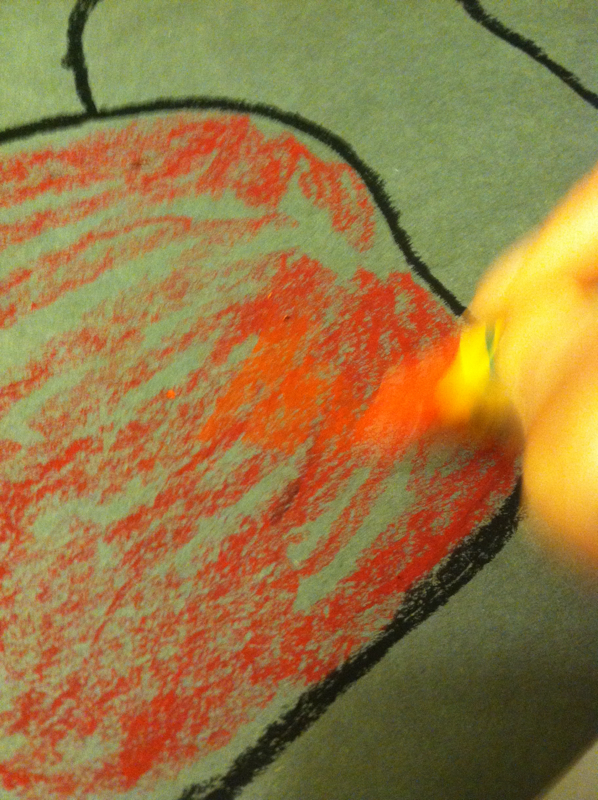
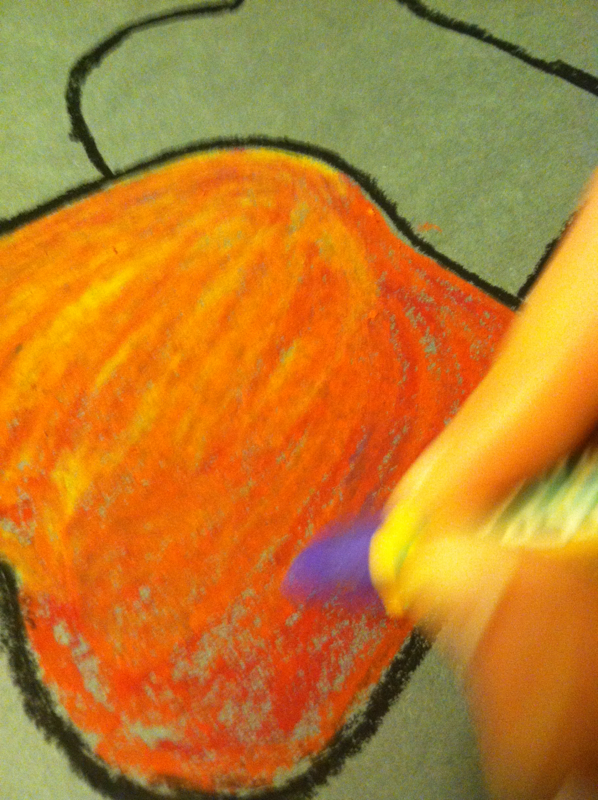
4) I always encourage my students to be creative when using color. I explain how if we think like artists, an apple should not just be a plain red, yellow, or green, and show how to mix hints of orange, yellow, or even blue or purple with red to make the most gorgeous colors. The photos below demonstrate how I apply layers of color to make an apple really "pop" from the page.
5) Apples saturated in color! 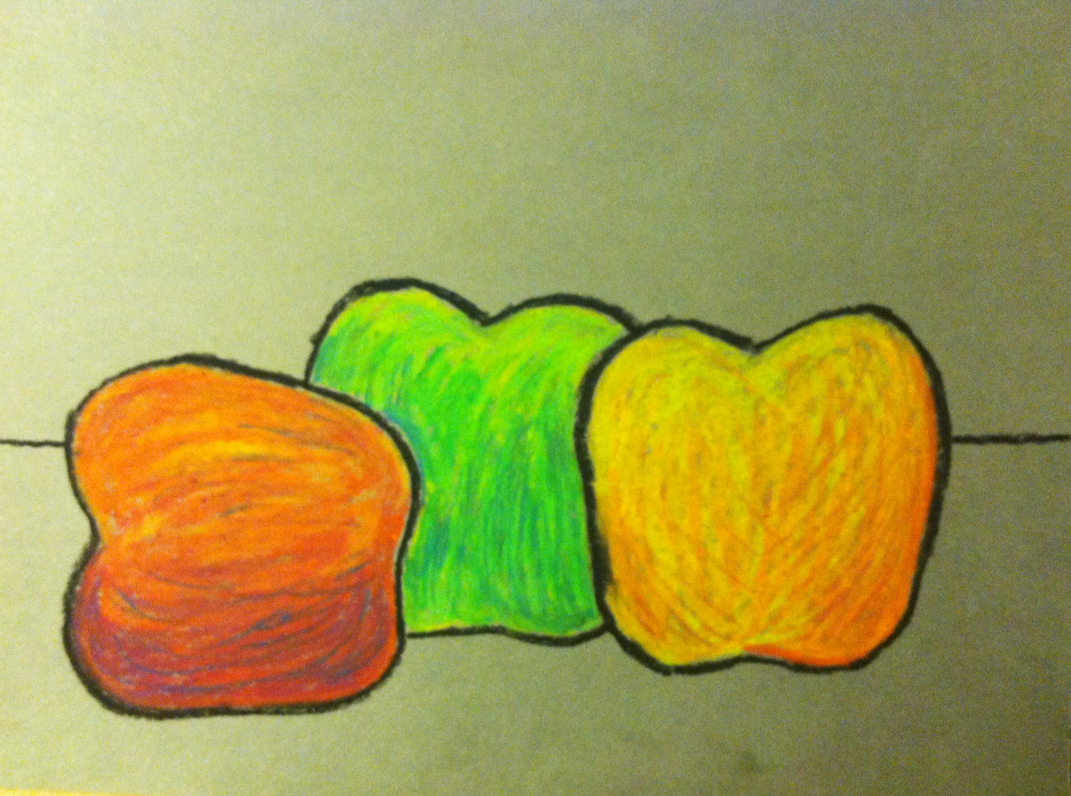
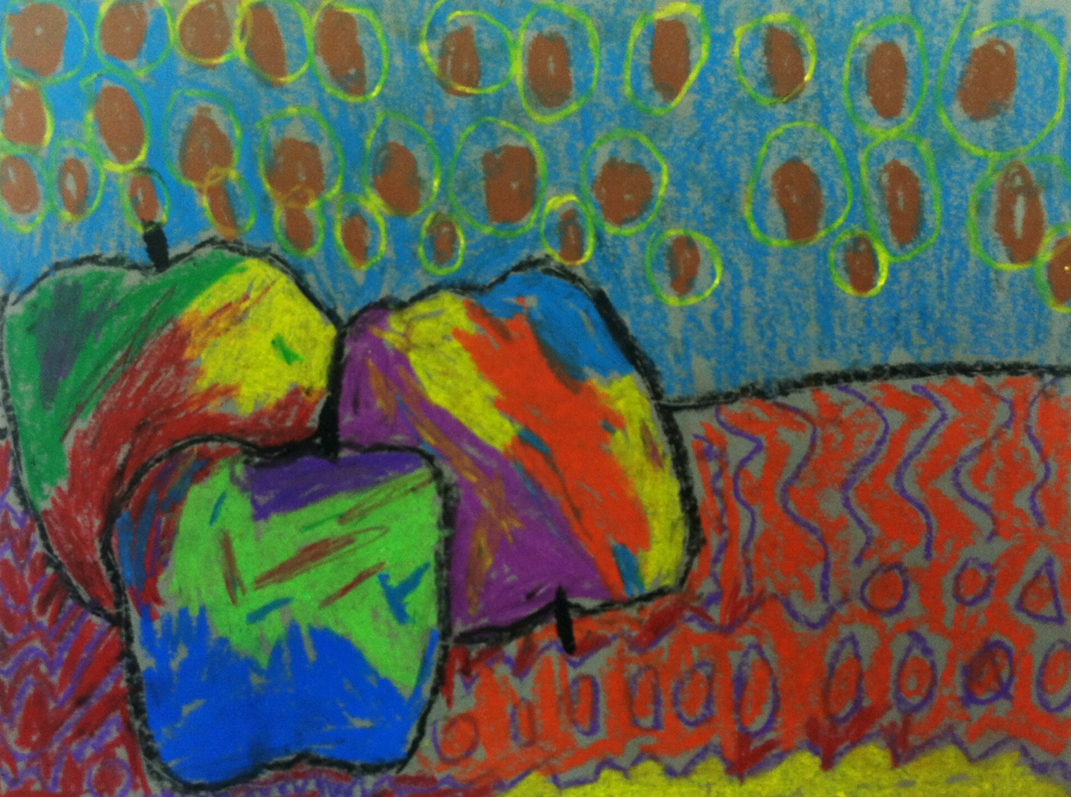
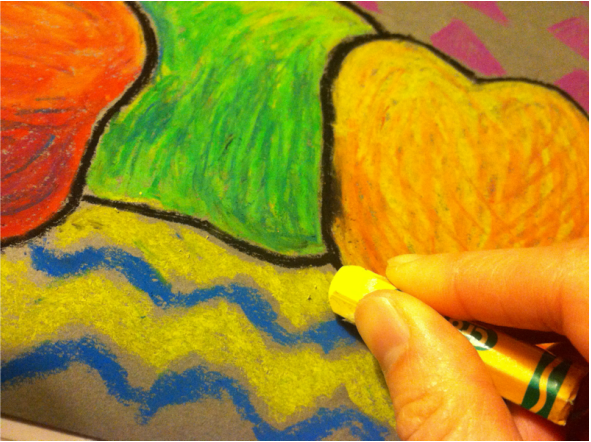
6) Color the background (wall) and the tablecloth with a non-apple color, such as purple, blue, pink, or brown. 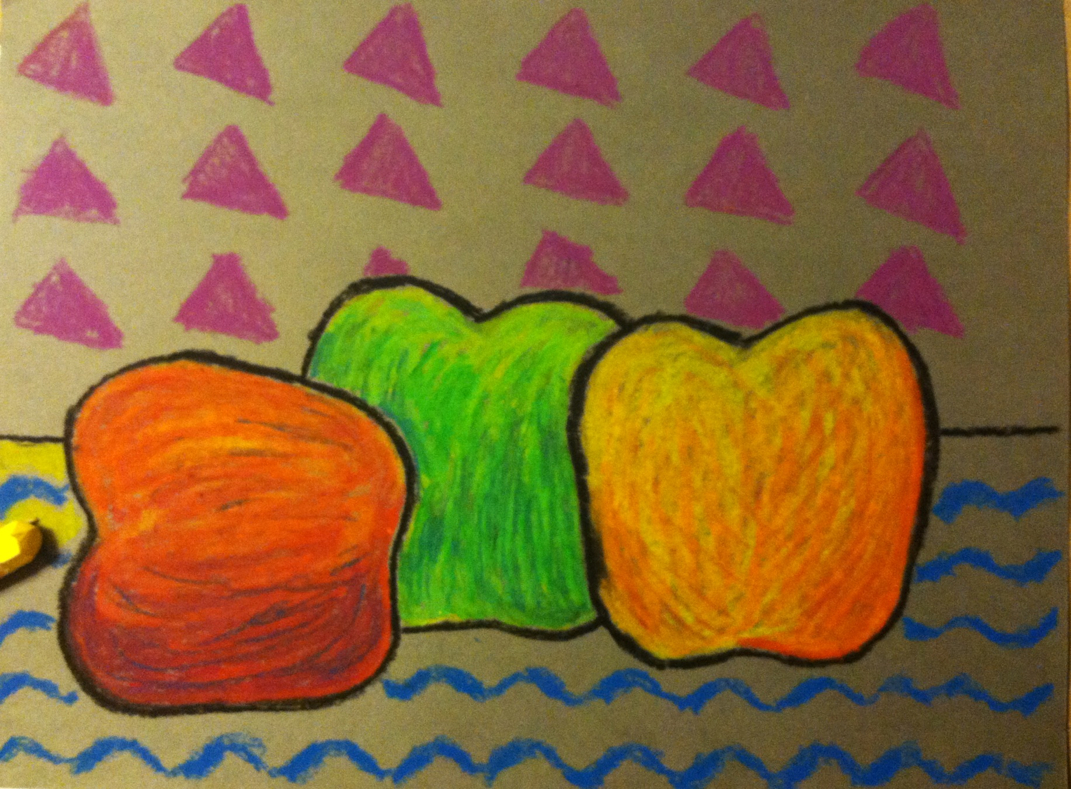
7) Fill in the rest of the background and tablecloth with apple colors: yellow, red, orange, or green.
8) Add stems with black pastel. 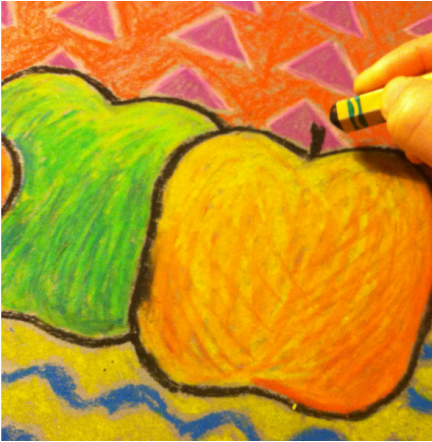
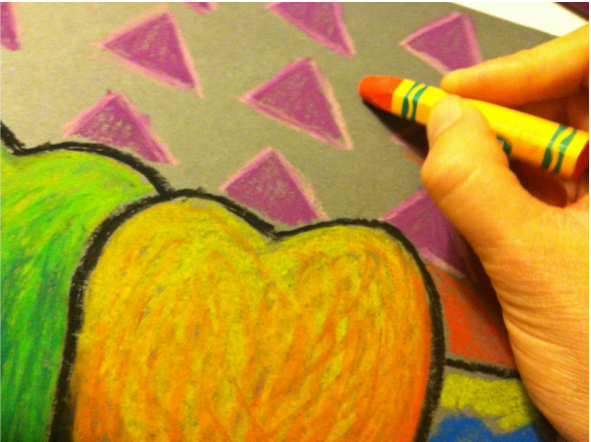
Completed still life. 
A couple student samples (the first is obviously in-progress): 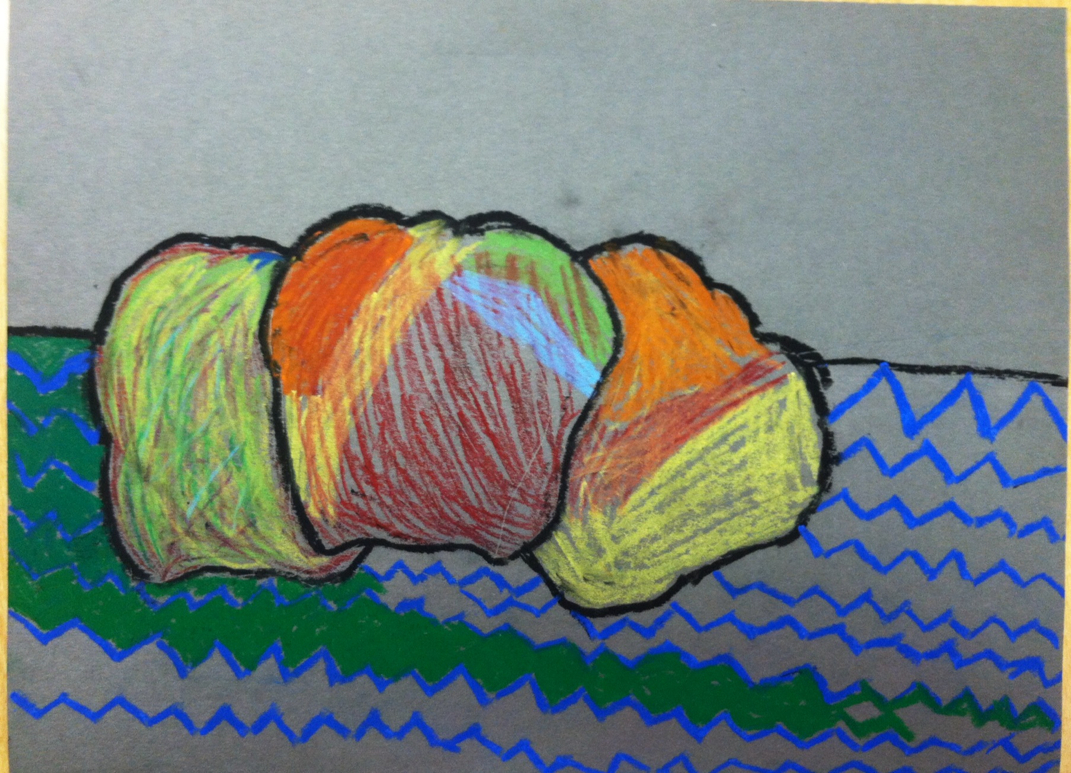
I think this one is wonderful for its energy and "jazzy" feel.
I found that students had success with this project on so many levels, and children as early as kindergarten were able to produce remarkably sophisticated and fine quality work. It worked well on the other extreme, too; fifth graders and even parents loved doing this! My thanks to the parents who volunteered to make this wonderful Art Night happen, and to my awesome colleague, Ms. Lessner, for assisting me. |
Archives
September 2019
Categories
All
|

 RSS Feed
